
Introduction
Managing event registrations can be tedious, especially when you need to send approval or rejection emails manually. Our Google Apps Script library simplifies this process by allowing you to configure email templates, set status columns, and trigger emails using a convenient sidebar. Additionally, it provides an automatic registration number generator.
Features
Configure column names for status, email, and registration numbers.
Set custom email templates for approvals and rejections.
Trigger email notifications from a sidebar.
Automatically generate registration numbers if the first one is set.
Getting Started
Step 1: Prepare Your Google Sheet
Before using the script, ensure your Google Sheet has the following columns: (you can name as per your requirement below are just simples)
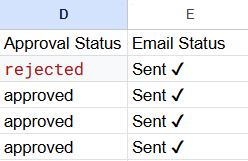
Approval Status: Stores approval/rejection status.
Email: Contains recipients’ email addresses.
Email Status: Indicates whether the email has been sent.
Registration Number: Stores generated registration numbers. Put your required format in the first column like: ‘R25-1’
Name: Used for email personalization.
Step 2: Include the Library
To use the library, include it in your Apps Script project using the provided script ID (use the latest version)
1xBK1KTHPQ8HE3ghxtyIkyrxqDRVHgFw-ohEoQ3VxSQFPeSd5oGpQ2_RJ
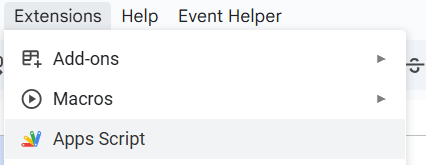
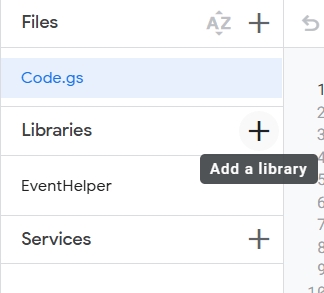
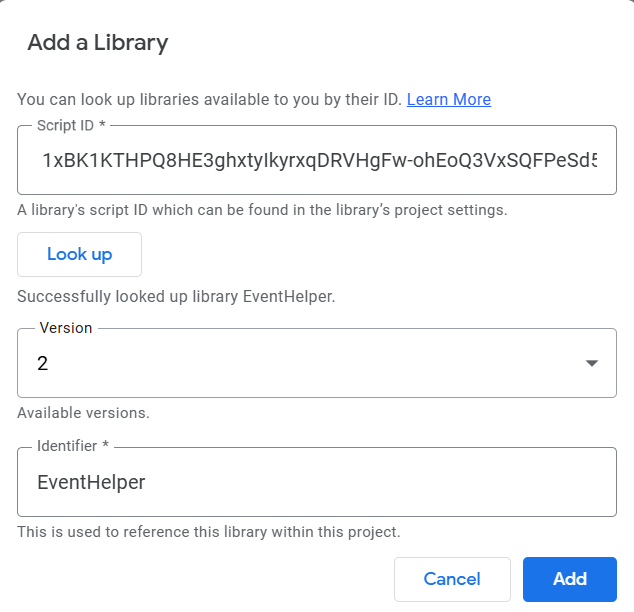
Step 3: Configure User Settings and use Library
Add the following code in your script to define the required columns and email templates:
var userConfig = {
	statusColumnName : 'Approval Status',
	emailColumnName : 'Email',
	emailStatusName : 'Email Status',
	approvedSubjectTemplate : 'Confirmation email for Event on 03 April!',
	approvedBodyTemplate : `Dear {{Name}},


 We are happy to confirm your registration

	Your registration is ({{Registration No}})


	Thanks & Regards

	Event Team
	`,

	rejectedSubjectTemplate : 'Decline email for Event on 03 April!',
	rejectedBodyTemplate : `Dear {{Name}},


 Unfortunately, your request is rejected


	Thanks & Regards

	Event Team`,
	mailLimit: 20,
	regColumnName: 'Registration No'
};

// To Show Menu
function onOpen() {
EventHelper.onOpen();
EventHelper.processRequest('registrationNumber', userConfig); // To generate registration number on sheet open, if required.
}

// Trigger Email from Menu
function triggerEmails() {
var result = EventHelper.processRequest('sendEmails', userConfig);
}

//Generate Registration Numbers
function generateRegNo() {
EventHelper.processRequest('registrationNumber', userConfig);
}
Step 4: Creating Email Templates
The email templates allow you to personalize messages using placeholders. You can use any column from your sheet, example:
{{Name}}: Replaces with the recipient’s name.{{Registration No}}: Inserts the assigned registration number.
Step 5: Using the Sidebar
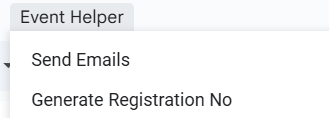
Once the script is deployed, you use options from menu: Event Helper > Send Emails.
Conclusion
This Apps Script library streamlines event management by automating email notifications and registration number assignments. Try it out and save time on manual tasks!